


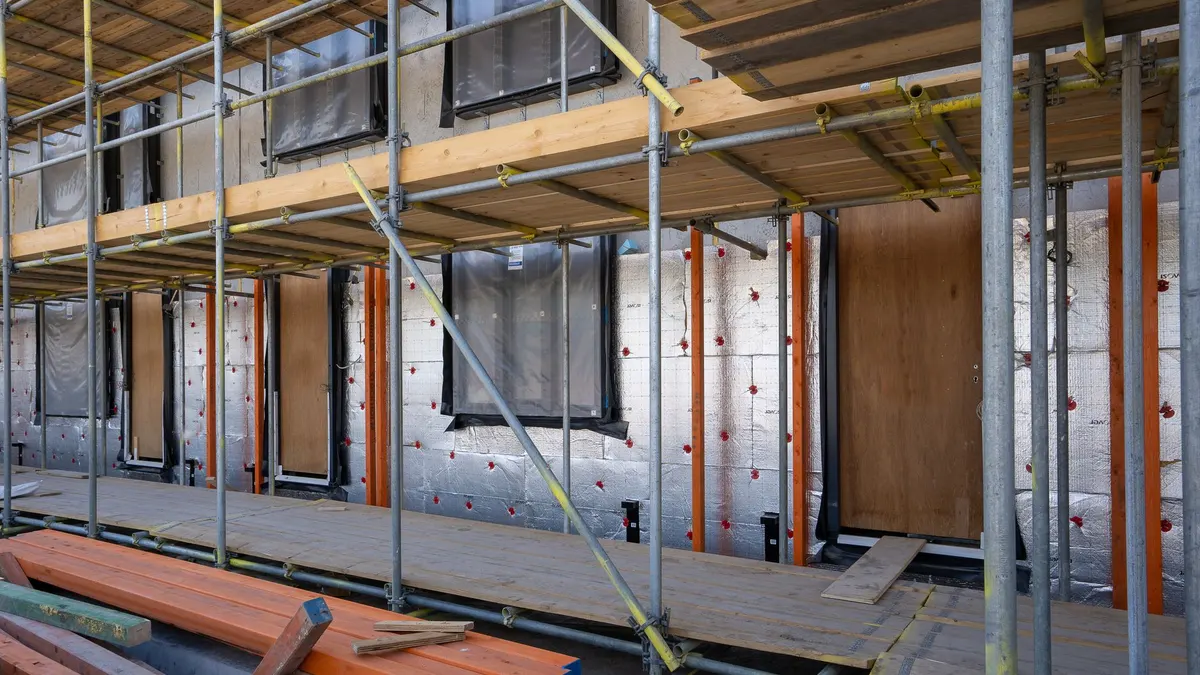
Insulation does not stop condensation. It moves it. Everything that goes wrong in a van wall follows from that one sentence, so start there and the rest of the decisions get easier.
Water in your van is coming from you. Breathing, cooking, wet gear, a dog. The National Weather Service definition is the whole physics: the dew point is the temperature air needs to be cooled to in order to reach 100 percent relative humidity, and if the air cools past that, the water vapor has to come out in liquid form. EPA states the building version directly: when warm, humid air contacts a cold surface, condensation may form.
A van is a steel box. In cold weather, the coldest surface in the vehicle is always the shell. So that is where the water goes.
The ribs are the problem, not the panels
The flat metal between the ribs is easy. You can fill it, seal it, and forget it. The ribs are the part that fails.
DOE’s building science material defines thermal bridging as heat escaping wherever framing components with low R-values span from the interior to the exterior of the building, and notes that in traditional house construction wood framing makes up nearly one-fourth of the wall area. That is a wood-framed house, and it is enough of a problem that DOE’s recommended fix is a continuous layer of rigid insulation on the outside of the framing, with rigid board R-values in the range of 3.2 to 6.5 per inch depending on type.
A van is that problem with worse materials and no exterior option. The ribs are steel, they run from your interior to the outside air, and you cannot add continuous exterior insulation to a vehicle. So the rib faces stay closer to outside temperature than anything around them, they drop below the dew point of your cabin air first, and water forms there before it forms anywhere else.
What that means in practice: an insulation job that fills the bays beautifully and leaves the rib faces bare has built a condensation collector. Every rib is a cold stripe with warm wet air against it, behind a panel where you will not see the result until something smells.
Where the water actually ends up
Trace the path. Warm cabin air holds moisture. It finds a gap in your panel work, a screw hole, a seam, the edge of a cabinet. It reaches the back of the wall cavity. It touches steel that is 20 degrees colder than the cabin. Water forms on the steel, runs down, and sits in the bottom of the rib channel or on the floor edge.
Now it is in a place that cannot dry. EPA’s mold guidance is specific about the timing: wet materials must be dried, or allowed to dry, within 24 to 48 hours to avoid mold growth. A sealed cavity between insulation and steel does not do that in 48 hours. It does not do it in 48 days.
In a van, the material sitting in that water is your plywood, your furring, and your subfloor. EPA’s mold page adds the health side: molds produce allergens and irritants, and the key to mold control is moisture control. We have no verified number for how fast a van interior goes from damp to rotten, and it will depend on your materials and your climate, so we are not going to give you one.
That is the failure mode. Not a leak. A slow, invisible, self-inflicted one.
Vapor control in a vehicle is not the house answer
In a house you decide which side the vapor retarder goes on based on climate. DOE’s building science guidance classifies retarders by permeance (Class I at 0.1 perm or less, Class II between 0.1 and 1.0, Class III at 1.0 or more), says no vapor barrier is required for mild or hot climates, and says building code does require them in colder zones 5 through 8. It also flags the trap: a barrier installed to stop winter condensation can keep walls from drying out if moisture condenses inside the wall during summer.
Now apply that to a van. You can drive from climate zone 2 to climate zone 6 in two days. The “warm side” of your wall is the interior in the mountains in October and the exterior in the desert in July. There is no fixed answer, and no building code covers your vehicle at all.
We are not going to invent a rule to fill that gap. What follows from the physics rather than from a code:
- Sealing beats layering. If air cannot reach the cold steel, it cannot condense on it. A closed-cell insulation bonded to the metal, or a foam board carefully sealed at every edge and seam, addresses the mechanism. A fluffy batt with air paths around it does not, no matter what its R-value says.
- Do not build a cavity you cannot dry. Anything that traps warm wet air against cold steel with no drying path is a cavity that will still be wet next month.
- Cover the ribs. Even a thin thermal break on the rib faces is worth more than another inch in the bays, because the ribs are where the dew point is reached first.
- Insulating the floor and the roof matters more than the walls. Heat leaves upward, and the floor is the one surface in constant contact with your body and your wet boots.
Insulation alone cannot get you there
You can do all of this correctly and still wake up to a wet ceiling, because the moisture load has not gone anywhere. EPA’s target for indoor relative humidity is below 60 percent, ideally between 30 and 50 percent, and nothing in an insulation assembly lowers relative humidity. Only air exchange does.
That is the other half of this problem and it lives on its own page: van ventilation, moisture removal, and fan sizing. Read it before you buy insulation, because it changes what the insulation needs to do.
If you are still at the planning stage, note where insulation falls in the build order: after the wiring, after the roof penetrations, before every panel. It is the layer you least want to open twice.